Guitar playing is an art that encompasses a wide range of styles, techniques, and skills. As you embark on your journey to become a skilled guitarist, one essential tool you’ll encounter in your repertoire is the chord diagram within guitar tabs. Chord diagrams are visual representations of specific chords and are invaluable for any guitarist, whether you’re a beginner or a seasoned pro. In this comprehensive guide, we will explore the importance and utility of chord diagrams in guitar tabs, helping you understand their significance and how to make the most of them.
The Basics of Guitar Tabs
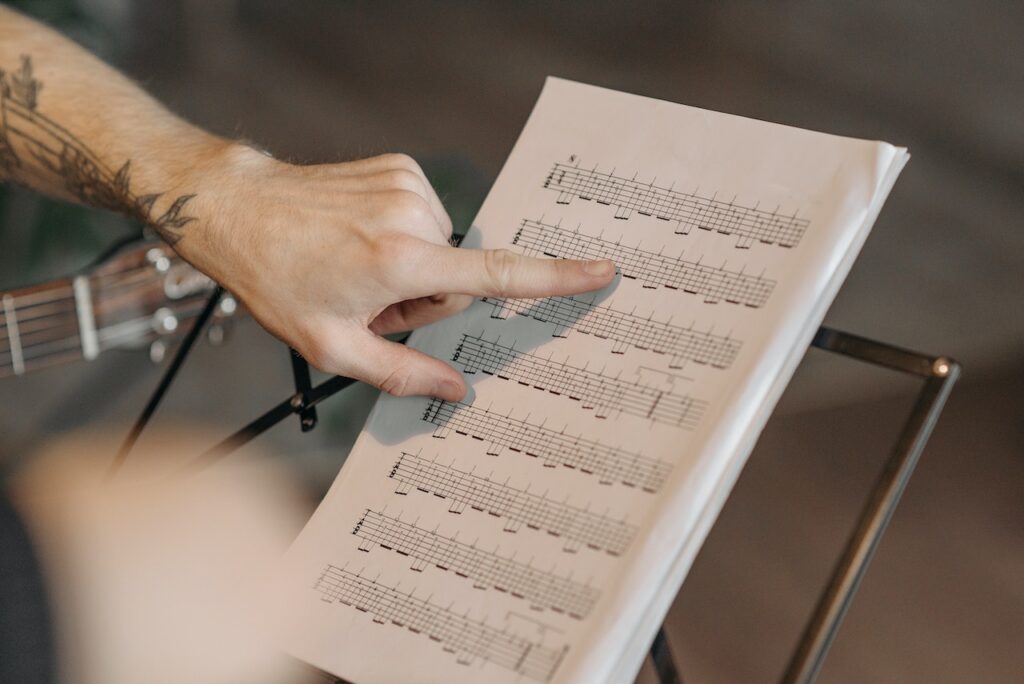
Before diving into chord diagrams, it’s important to understand the basics of guitar tabs. Guitar tablature, commonly known as “tabs,” is a form of musical notation specific to the guitar. It utilizes a system of lines to represent the strings of the guitar, with numbers indicating the frets where you should place your fingers.
For instance, when you see a “0” on the high E string (the thinnest string), it means to play the open string without pressing down any frets. On the other hand, if you see a “3” on the same string, it instructs you to place your finger on the third fret of the high E string. This system is fantastic for indicating individual notes and melodies, but it doesn’t tell you much about chords.
What Are Chord Diagrams in Guitar Tabs?
Chord diagrams, often found in guitar tabs, are visual representations of guitar chords. They offer a clear and concise way of illustrating how to play a specific chord on the guitar. Chord diagrams consist of a grid, with vertical lines representing the guitar strings and horizontal lines indicating the frets. Dots or numbers within this grid reveal where you should place your fingers to form the chord.
The Significance of Chord Diagrams
Chord diagrams are essential tools for guitarists for several reasons:
- Quick Reference: Chord diagrams provide an immediate reference for how to play a chord. Instead of reading through a chord’s note-by-note tab, you can quickly grasp the fingering positions.
- Chord Voicings: Chord diagrams depict different voicings or variations of a chord. This allows you to choose the voicing that best fits the song or your playing style.
- Chord Progressions: Chord diagrams can help you see and understand chord progressions more easily. They enable you to transition from one chord to another efficiently.
- Song Learning: When learning a new song, having the chord diagrams alongside the tab can streamline the learning process. You can see the chords you’ll be using and easily incorporate them into your playing.
- Playing with Others: Chord diagrams are particularly helpful when playing with others. They ensure that everyone is on the same page regarding which chords are being used in a song.
How to Read Chord Diagrams
Understanding and reading chord diagrams is relatively straightforward. Let’s break down the key components:
- The Grid: The grid represents the fretboard. The vertical lines represent the strings, with the leftmost line typically representing the low E string, and the rightmost line representing the high E string. The horizontal lines denote the frets.
- Dots or Numbers: Inside the grid, you’ll find dots or numbers. These indicate where to place your fingers. A “0” or an “X” means that you don’t press down on that string. A number corresponds to the fret where you should place your finger.
- Numbers on Strings: Sometimes, chord diagrams also include numbers below the grid, representing the fingers you should use for each string. Typically, “1” is the index finger, “2” is the middle finger, “3” is the ring finger, and “4” is the pinky.
Making the Most of Chord Diagrams
To effectively use chord diagrams in guitar tabs, consider the following tips:
- Learn the Basics: Understand the basics of chord construction. Know how to read the chord name, the fingering, and the positioning on the fretboard.
- Practice Transitioning: Work on transitioning between chords smoothly. Focus on changing from one chord to another in the context of a song.
- Use Online Resources: There are many online resources that provide chord diagrams for a wide range of songs. These resources are invaluable for learning new songs and expanding your chord vocabulary.
- Experiment with Voicings: Chord diagrams offer multiple voicings for the same chord. Experiment with different voicings to find the one that suits your playing style or the song you’re working on.
- Integrate with Tabs: Often, you’ll find tabs and chord diagrams in the same song sheet. Learn to read and use both simultaneously to get a more complete picture of the music.
Chord diagrams in guitar tabs are indispensable tools for guitarists of all levels. They provide a clear and concise way to understand and play chords, making them a vital resource for learning songs, creating your music, and playing with others. By mastering the art of reading and using chord diagrams, you’ll enhance your guitar-playing skills and open up new musical possibilities.