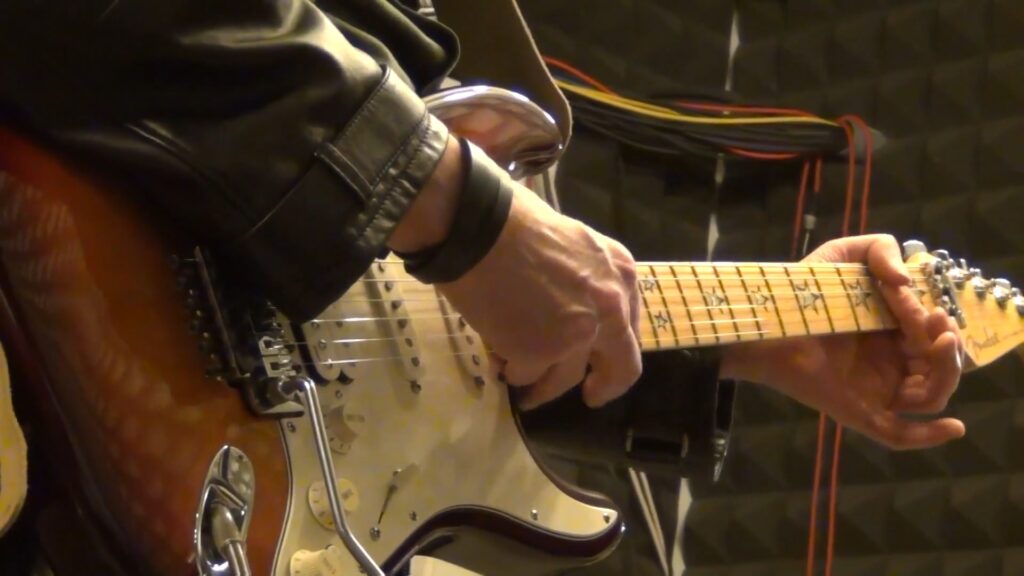
The guitar is an incredibly expressive instrument, capable of conveying a wide range of emotions and moods. One technique that can help add depth and nuance to your playing is vibrato. In this article, we’ll explore what vibrato is, why it’s important, and how you can incorporate it into your playing.
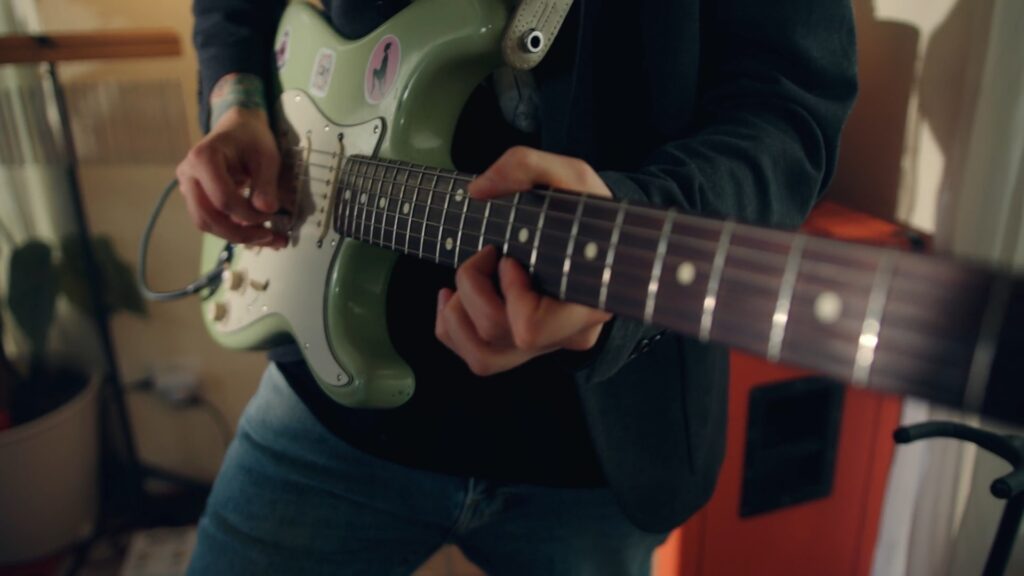
Vibrato is a technique used by guitarists to create a slight variation in pitch by rapidly oscillating the string back and forth. It’s often used to add a sense of emotion, warmth, and depth to notes, and can be used in a variety of genres, from blues to rock to classical.
Why is Vibrato Important?
Vibrato is an important technique for any guitarist to master because it can add a lot of nuance and expression to your playing. By adding a slight variation in pitch to your notes, you can create a sense of tension and release, which can help convey a range of emotions, from sadness to joy to anger.
In addition, vibrato can help your notes sustain longer, making them sound fuller and more powerful. This can be especially useful when playing slower, more melodic pieces, where you want to create a sense of resonance and depth.
source: youtube.com/@justinguitar
How to Incorporate Vibrato into Your Playing
There are many different ways to incorporate vibrato into your playing, depending on your playing style and genre. Here are a few tips to get you started:
Start Slow: If you’re new to vibrato, start by practicing it slowly. Focus on getting a smooth and even oscillation of the string. Try to keep your hand relaxed and use a light touch to avoid bending the string too much.
Use Your Wrist: When performing vibrato, use your wrist to create the oscillation. Keep your fingers loose and use a light touch to create the desired effect.
Vary Your Speed: Experiment with different speeds of vibrato to see how they affect the mood and feel of your playing. A slower vibrato can create a sense of melancholy or longing, while a faster vibrato can create a sense of urgency or excitement.
Experiment with Different Techniques: There are many different ways to perform vibrato, including using your fingers, using your arm, or using a tremolo bar. Experiment with different techniques to find the one that works best for you and your playing style.
Listen to Other Players: One of the best ways to learn vibrato is to listen to other players who use it effectively. Listen to a range of genres and styles to see how different players incorporate vibrato into their playing.
Vibrato is a powerful technique that can help add emotion, depth, and nuance to your guitar playing. By practicing the tips outlined in this article, you can start incorporating vibrato into your playing and take your guitar skills to the next level.
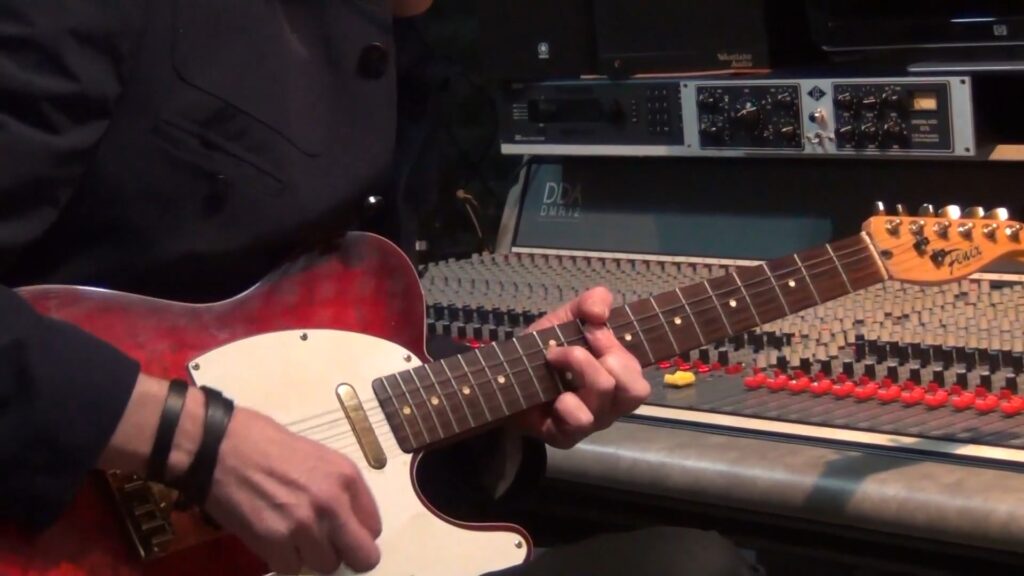
Sweep picking is a popular guitar technique used by many famous guitarists such as Yngwie Malmsteen, Eddie Van Halen, and Steve Vai. It involves using the pick to sweep across the strings in a fluid motion, playing multiple notes with one stroke of the pick. While it may look intimidating, sweep picking is actually a relatively simple technique to learn with enough practice and dedication. In this comprehensive guide, we will break down the basics of sweep picking and provide tips and exercises to help you master this technique.
source: pexels.com/@cottonbro
The Basics of Sweep Picking
Before diving into the technique itself, it is important to understand the basics of sweep picking. Sweep picking involves playing arpeggios, or broken chords, in a sweeping motion across the strings. Instead of playing each note individually, as with alternate picking, sweep picking allows you to play multiple notes at once, creating a fluid, sweeping sound.
To start, choose a basic arpeggio, such as a major or minor triad, and practice playing it with a simple downstroke sweep. Start by placing your fretting hand on the appropriate chord shape, and position your picking hand above the strings, angling the pick slightly downward toward the floor. Then, using a smooth, sweeping motion, drag the pick across the strings in a downward motion, playing each note of the arpeggio in a fluid motion.
Common Sweep Picking Techniques
While the basic technique of sweep picking involves playing arpeggios with a sweeping motion, there are several different techniques and variations that can be used to add variety and complexity to your playing.
One common technique is to incorporate hammer-ons and pull-offs into your sweep picking. This involves using your fretting hand to add extra notes to the arpeggio by quickly hammering on or pulling off to a higher or lower fret. This technique allows you to add more notes and create a more intricate sound.
Another technique is to incorporate tapping into your sweep picking. This involves using your picking hand to tap on the fretboard, playing additional notes and creating a faster, more complex sound.
source: youtube.com/@RobertBakerGuitar
Tips for Mastering Sweep Picking
As with any guitar technique, mastering sweep picking takes time and practice. Here are some tips to help you improve your sweep picking skills:
Start Slow: Sweep picking requires a lot of precision and accuracy, so it is important to start slow and gradually build up speed. Start by practicing the technique at a slow tempo, focusing on accuracy and fluidity.
Use a Metronome: A metronome can be a helpful tool when practicing sweep picking. Start at a slow tempo and gradually increase the speed as you become more comfortable with the technique.
Practice Different Arpeggios: To master sweep picking, it is important to practice different arpeggios in various positions on the fretboard. This will help you to develop a better understanding of the technique and how it can be applied to different chord shapes and musical contexts.
Focus on Cleanliness: Sweep picking requires precise and accurate picking, so it is important to focus on cleanliness and eliminate any unwanted string noise. Practice muting strings with your fretting hand and using the appropriate picking technique to avoid unwanted noise.
Experiment with Different Techniques: Sweep picking can be combined with other techniques such as tapping and legato playing to create a more intricate sound. Experiment with different techniques and find what works best for your playing style.
Sweep picking is a popular and versatile guitar technique that can add flavor and complexity to your playing. While it may seem daunting at first, with enough practice and dedication, anyone can master this technique. By starting slow, focusing on accuracy and cleanliness, and experimenting with different techniques, you can develop your own unique style of sweep picking and take your playing to the next
Hammer-ons and pull-offs are guitar techniques that allow you to add flavor and style to your playing. These techniques can be used to create smoother, more fluid transitions between notes, and can add a lot of depth and interest to your playing. In this article, we’ll explore how to use hammer-ons and pull-offs to enhance your guitar playing.
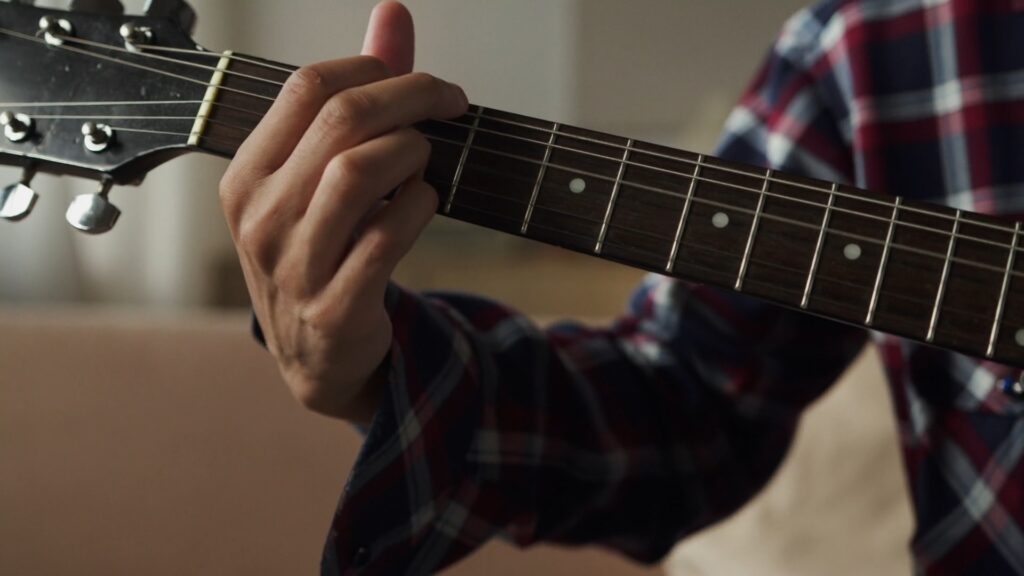
Hammer-ons and pull-offs are both techniques that involve playing notes without picking the strings. A hammer-on is when you use your fretting hand to play a note by “hammering” your finger down on the string, creating a new note without picking the string again. A pull-off is the opposite – it’s when you use your fretting hand to “pull off” the string and create a new note without picking the string again.
Why Are Hammer-Ons and Pull-Offs Useful?
Hammer-ons and pull-offs can be used to create smoother transitions between notes. For example, if you’re playing a scale and you want to create a legato effect, you can use hammer-ons and pull-offs to create a seamless transition between each note. Additionally, these techniques can add a lot of flavor and interest to your playing, allowing you to create a more dynamic and interesting sound.
How to Play Hammer-Ons
To play a hammer-on, start by fretting a note with your left hand. Then, without picking the string again, use your left hand to “hammer” down on the string at a higher fret. This will create a new note without the need to pick the string again. You can also play multiple hammer-ons in a row by fretting one note, hammering on to a higher fret, and then hammering on to an even higher fret.
How to Play Pull-Offs
To play a pull-off, start by fretting a note with your left hand. Then, without picking the string again, use your left hand to “pull off” the string to a lower fret. This will create a new note without the need to pick the string again. You can also play multiple pull-offs in a row by fretting one note, pulling off to a lower fret, and then pulling off to an even lower fret.
source: youtube.com/@GuitarCompass
Combining Hammer-Ons and Pull-Offs
Once you’ve mastered the basics of hammer-ons and pull-offs, you can start to combine them to create more complex and interesting patterns. For example, you can start by playing a note, then hammering on to a higher note, pulling off to a lower note, and then hammering on to another higher note. This will create a sequence of notes that is both fluid and interesting.
Tips for Using Hammer-Ons and Pull-Offs Effectively
To use hammer-ons and pull-offs effectively, it’s important to pay attention to your timing and technique. Here are a few tips to help you get started:
Start slow. When you’re first learning these techniques, it’s important to start slow and focus on accuracy and control.
Practice with a metronome. Using a metronome can help you stay in time and develop a sense of rhythm and timing.
Focus on your finger strength. Hammer-ons and pull-offs require a lot of finger strength, so make sure to practice exercises that help build up your finger strength.
Experiment with different patterns. Don’t be afraid to experiment with different hammer-on and pull-off patterns to find what works best for you.
Pay attention to your tone. The way you play hammer-ons and pull-offs can have a big impact on your tone, so make sure to pay attention to your technique and how it’s affecting your sound.
Hammer-ons and pull-offs are versatile techniques that can add a lot of flavor and complexity to your guitar playing. By practicing these techniques and experimenting with different fingerings and levels of pressure, you can create your own unique sound and style on the guitar.
As a guitarist, it’s important to have a variety of techniques at your disposal to create dynamic and interesting sounds. Two techniques that are often used to control the sound of a guitar are muting and palm-muting. Although similar, these techniques have distinct differences and are used in different situations. In this article, we’ll explore the difference between muting and palm-muting and provide tips on when to use each technique.
Muting is a technique where you stop the strings from vibrating using your picking hand or other parts of your body such as your fretting hand. There are several ways to mute a guitar string, including using your palm, fingers, or even your elbow. Muting is used to create a staccato sound or to stop unwanted string noise. It’s an essential technique to master for any style of playing, from jazz to metal.
Palm-muting is a specific type of muting technique where you use the palm of your picking hand to mute the strings. Palm-muting creates a percussive sound that is perfect for playing heavy and rhythmic parts. To palm-mute a string, rest the side of your palm on the bridge of your guitar and apply enough pressure to stop the string from vibrating. The amount of pressure you apply will determine the amount of sustain and volume of the muted note.
source: youtube.com/@seandaniel23
The main difference between muting and palm-muting is the way the strings are muted. With muting, you can use various parts of your body to stop the strings from vibrating, whereas palm-muting is specifically done with the palm of your picking hand. Additionally, palm-muting creates a more percussive and muted sound than regular muting, which can create a more staccato sound.
So when should you use each technique? Muting is useful in situations where you want to create a short, staccato sound. For example, in funk or jazz playing, you may want to use muting to create a tight and rhythmic sound. Muting is also essential when playing with distortion or high gain because it helps to stop unwanted string noise.
Palm-muting, on the other hand, is useful in situations where you want to create a percussive and muted sound. Palm-muting is commonly used in rock and metal music to create heavy and rhythmic parts. You can also use palm-muting to create a muted bassline, where you play muted notes on the lower strings of the guitar.
One important thing to keep in mind when using either technique is the placement of your hands. When muting, make sure your fingers are resting lightly on the strings, so they are ready to stop any unwanted string noise. When palm-muting, make sure your palm is resting on the bridge of the guitar and not on the strings themselves. This will ensure you get the right amount of pressure and create the desired sound.
Muting and palm-muting are both essential techniques for guitarists to master. Although similar, they have distinct differences and are used in different situations. Muting is used to create a short, staccato sound or to stop unwanted string noise, while palm-muting is used to create a percussive and muted sound that is perfect for heavy and rhythmic parts. By mastering these techniques, you’ll be able to create a variety of dynamic and interesting sounds on your guitar.
Learning to read guitar tablature is an essential skill for any guitarist. It allows you to learn new songs, write your own music, and improve your overall musicianship. However, it can be a daunting task to start learning how to read guitar tablature, especially if you’re new to the instrument. One of the best ways to ease into reading guitar tablature is by starting with easy songs. In this article, we’ll explore why starting with easy songs is important and how to do it effectively.
Starting with easy songs has several benefits. First, it allows you to build a solid foundation of basic guitar techniques and theory. By starting with simple songs, you’ll be able to focus on the fundamentals of playing guitar, such as finger placement, strumming patterns, and basic chord progressions. This will help you develop a strong technical foundation that you can build upon as you progress.
Second, easy songs are more enjoyable to play. When you’re just starting to learn how to read guitar tablature, it can be frustrating to try to play complex songs that are beyond your skill level. Starting with easy songs will allow you to play music that you enjoy and will give you a sense of accomplishment.
Third, easy songs are a great way to build confidence. As you master each easy song, you’ll gain the confidence to tackle more challenging pieces. This will help you stay motivated and committed to your guitar playing.
How to Start with Easy Songs
So, how should you start? Here are some examples of easy songs that are perfect for beginners to practice their guitar tablature reading skills:
“Smoke on the Water” by Deep Purple
This classic rock riff is a great place to start for beginners. With its simple melody and repetitive structure, it’s easy to learn and perfect for practicing your guitar tablature reading skills.
“Seven Nation Army” by The White Stripes
Another classic rock song that’s great for beginners, “Seven Nation Army” is a simple yet catchy tune that will help you master the basics of guitar tablature.
“Wish You Were Here” by Pink Floyd
This mellow ballad is a great choice for beginners who want to practice their fingerpicking skills. The guitar tablature for “Wish You Were Here” is relatively simple, but it will help you develop your timing and coordination.
“Good Riddance (Time of Your Life)” by Green Day
This popular ballad by Green Day is a great choice for beginners who want to practice their chord transitions. With its simple melody and repetitive structure, it’s easy to learn and perfect for practicing your guitar tablature reading skills.
“Horse with No Name” by America
This classic rock song is a great choice for beginners who want to practice their strumming and chord transitions. The guitar tablature for “Horse with No Name” is relatively simple, but it will help you develop your timing and coordination.
Once you’ve mastered these easy songs, you can move on to more complex tunes. But remember, it’s important to start with easy songs to build a strong foundation of skills. With practice and dedication, you’ll be reading guitar tablature like a pro in no time!
Learning how to read guitar tablature is an important step for any guitarist. It allows you to quickly and easily learn how to play new songs and create your own music. However, once you’ve mastered the basics of tablature, it’s important to focus on accuracy and timing. One tool that can help you do this is a metronome. In this article, we’ll discuss how to use a metronome to improve your guitar tablature reading skills.
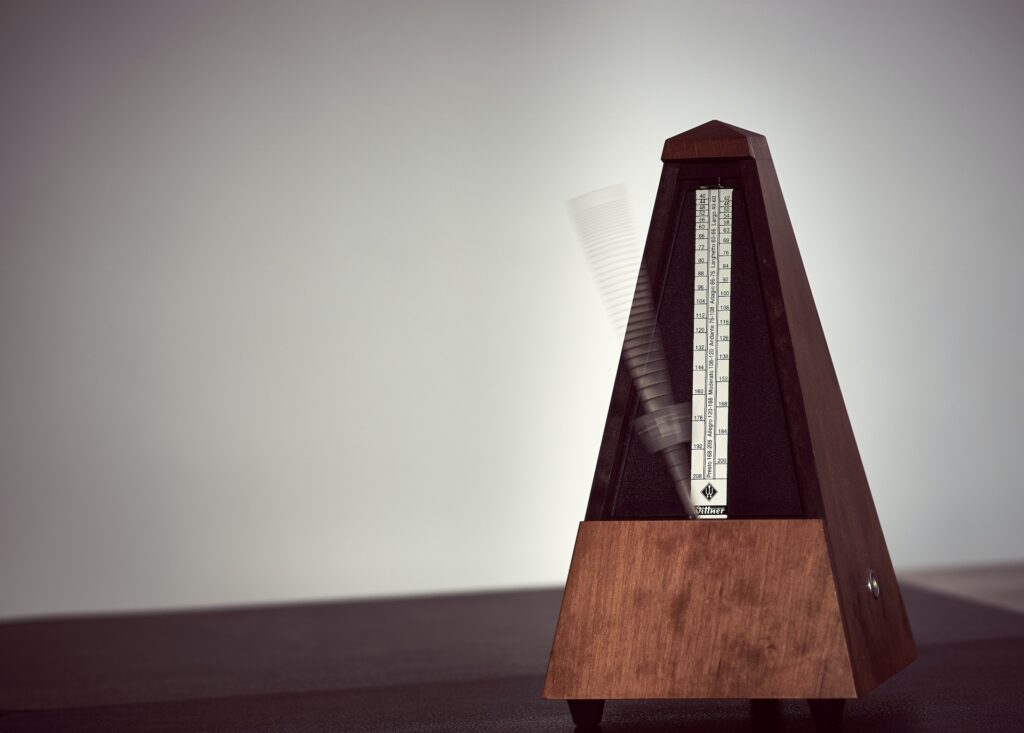
First, let’s discuss what a metronome is. A metronome is a device that produces a steady, consistent beat. It’s often used by musicians to keep time while they play. Metronomes come in both analog and digital formats, and can be purchased at music stores or downloaded as an app on your phone.
One of the primary benefits of using a metronome when practicing guitar is that it helps you develop your sense of timing. When you’re playing a song, it’s important to play each note at the correct time. By practicing with a metronome, you can train yourself to stay in time with the beat.
Another benefit of using a metronome is that it can help you build speed. As you practice a song at a slower tempo, you can gradually increase the speed until you’re playing at the original tempo. This can be especially helpful for fast or complex songs.
Now, let’s discuss how to incorporate a metronome into your guitar tablature reading practice. Here are some tips and tricks to get you started:
Start Slow: When you’re first starting to use a metronome, it’s important to start at a slow tempo. This will give you time to get comfortable with the beat and make sure you’re playing each note correctly. As you get more comfortable, you can gradually increase the tempo.
Break the Song into Sections: If you’re practicing a longer song, it can be helpful to break it down into smaller sections. This will allow you to focus on one section at a time and ensure that you’re playing each note accurately.
Practice with Different Time Signatures: Different songs have different time signatures, so it’s important to practice with a variety of time signatures. This will help you develop your sense of timing and prepare you for playing different styles of music.
Use a Visual Aid: Some metronomes have a visual component that can be helpful for beginners. For example, some metronomes have a flashing light that indicates the beat. This can be helpful if you’re having trouble hearing the beat or staying in time.
Have Fun: Practicing with a metronome can be challenging, but it’s important to remember to have fun. Don’t get discouraged if you’re struggling to stay in time at first – it takes time and practice to develop this skill.
Using a metronome can be a valuable tool for any guitarist looking to improve their guitar tablature reading skills. By starting slow, breaking songs into sections, practicing with different time signatures, using a visual aid, and having fun, you can develop your sense of timing and accuracy, and become a better guitarist overall. So, grab your metronome and start practicing today!
If you’re a guitar player looking to improve your skills, reading tablature is an essential part of your learning process. Tablature, or simply “tab,” is a system of notation that represents guitar music graphically. It shows the strings and frets you need to play, making it easier to learn and play songs. However, mastering guitar tablature can be tricky, especially if you’re a beginner. In this article, we’ll share some tips and tricks for quick learning and mastering guitar tablature.
Start with easy songs
When learning guitar tablature, start with easy songs that have simple chord progressions. This will help you get familiar with the notation and develop good habits in your playing. Some good songs for beginners include “Blowin’ in the Wind” by Bob Dylan, “Horse with No Name” by America, and “Wonderwall” by Oasis.
Use a metronome
One of the biggest challenges of playing guitar is timing. A metronome is an essential tool that can help you improve your timing and rhythm. It’s particularly useful when you’re learning tablature because it helps you keep track of the beat and ensures that you’re playing at the right tempo.
When you’re learning a new song, it can be overwhelming to look at the entire tab at once. Instead, break the song into parts, such as the verse, chorus, and bridge. This makes the song more manageable and easier to learn. Once you’ve mastered each part, you can put them together to play the entire song.
Practice slowly and gradually increase speed
When you’re first starting to learn a song, practice it slowly. This will help you get the notes and timing right. As you become more comfortable with the song, gradually increase the speed. This will help you build up your muscle memory and eventually play the song at full speed.
Use backing tracks
Backing tracks are pre-recorded music that you can play along with. They’re great for practicing guitar tablature because they provide a full band sound and can help you develop your timing and rhythm. You can find backing tracks for most popular songs online.
Focus on accuracy
When you’re learning guitar tablature, accuracy is more important than speed. Take your time to ensure that you’re playing the notes correctly and in time with the music. Once you’ve mastered the accuracy, you can focus on playing the song at full speed.
Practice regularly
As with any skill, regular practice is essential for mastering guitar tablature. Try to practice for at least 30 minutes every day. This will help you develop good habits and make steady progress in your playing.
Mastering guitar tablature takes time and practice, but it’s an essential skill for any guitar player. By starting with easy songs, using a metronome, breaking the song into parts, practicing slowly and gradually increasing speed, using backing tracks, focusing on accuracy, and practicing regularly, you’ll be on your way to mastering guitar tablature in no time. Keep in mind that learning to play the guitar should be fun and enjoyable, so don’t be too hard on yourself if you make mistakes. With patience and persistence, you can become a master of guitar tablature.
Tablature, or “tab,” is a popular way for guitarists to notate music. Unlike traditional sheet music, which shows the notes and rhythms of a song, tablature uses a series of numbers and symbols to represent the strings and frets on the guitar. While it may seem intimidating at first, learning how to read guitar tablature is an essential skill for any guitarist. In this beginner’s guide, we’ll cover the basics of reading tab and provide some helpful tips to get you started.
Before we dive into how to read tablature, let’s first go over some common symbols you’ll encounter:
Numbers: These represent the frets on the guitar. For example, “3” means to play the note on the third fret of the indicated string.
Lines: These represent the strings on the guitar. The top line represents the thinnest string (high E), while the bottom line represents the thickest string (low E).
X: This means to mute the string by not playing it.
O: This means to play the open string.
/: This means to slide up to the indicated fret.
: This means to slide down to the indicated fret.
h: This means to hammer-on to the indicated fret.
p: This means to pull-off to the indicated fret.
~: This means to vibrato (wiggle) the string while holding the indicated fret.
Reading Tablature
To read tablature, simply look at the numbers and symbols on the lines and play the corresponding notes on your guitar. Here’s an example:
This tab represents the opening riff of “Smoke on the Water” by Deep Purple. The top line represents the high E string, while the bottom line represents the low E string. The numbers on each line indicate which fret to play, while the dashes represent a rest or pause.
So, to play the riff, you would play the open low E string, then play the third fret on the low E string, then the fifth fret on the low E string, and so on. You would continue to play the notes in the order indicated until the end of the tab.
Tips for Reading Tablature
Take it slow: Start with simple tabs and work your way up to more complex pieces. Reading tablature is a skill that takes time to develop, so be patient with yourself.
Listen to the song: Tablature can be helpful, but it’s not a substitute for actually hearing the music. Listen to the song you’re learning and try to play along.
Pay attention to rhythm: While tablature doesn’t show the exact rhythm of the music, it does give you a general idea of when to play each note. Make sure to count the beats and rests in the music and play accordingly.
Use a metronome: A metronome is a device that produces a steady beat, which can help you stay on track with the rhythm of the music.
Practice regularly: The more you practice reading tablature, the easier it will become. Try to set aside time each day to work on your skills.
Once you have become familiar with the basic elements of guitar tablature, the next step is to learn how to read more complex tablature. This may include bends, slides, hammer-ons, pull-offs, vibrato, and more.
source: youtube.com/@tacguitar
Bends are indicated in tablature by a curved arrow pointing upwards. This symbol represents the action of bending the string upwards, which raises the pitch of the note. The number next to the arrow indicates the degree to which the string should be bent. For example, a “2” above the arrow indicates a whole step bend, while a “1/2” indicates a half step bend.
Slides are indicated by a line connecting two notes. This symbol represents sliding the finger up or down the string to reach the next note. A slide up is represented by a line going upwards, while a slide down is represented by a line going downwards.
Hammer-ons and pull-offs are techniques used to play legato, or smooth, connected notes without plucking the string again. A hammer-on is indicated by a “h” between two notes. This symbol represents hammering the finger down on the string to produce the next note. A pull-off is indicated by a “p” between two notes. This symbol represents pulling the finger off the string to produce the next note.
Vibrato is a technique used to create a slight variation in pitch to add expression to a note. In tablature, vibrato is indicated by a squiggly line above the note. This symbol represents shaking the finger back and forth on the fret to create the vibrato effect.
As you continue to practice reading guitar tablature, it’s important to keep in mind that it is just one tool in your musical toolkit. While it can be a helpful way to learn new songs and practice playing, it should not be the only way you learn to play guitar. It’s important to also learn music theory, proper technique, and to practice playing by ear.
In addition to practicing your guitar skills, it’s also important to take care of your instrument. This includes regularly changing your strings, keeping your guitar clean and properly stored, and taking it to a professional for any necessary repairs or adjustments.
Overall, reading guitar tablature is an essential skill for any beginner guitarist. With practice and patience, you can quickly become proficient in reading and playing guitar tablature, allowing you to learn new songs and improve your playing skills. Remember to also focus on proper technique, music theory, and taking care of your instrument to ensure a lifetime of enjoyable guitar playing.